Start here
First build: the current MechAMS path
Use this order for a clean first build. The current release is for the Bambu Lab A1 and A1 mini; do not use these files on another printer model.
Do the fit check first. Do not print or force the entire mechanism before you know which tolerance fits your printer.
1. Confirm the printer and build space
Confirm that you are building for a Bambu Lab A1 or A1 mini. Leave space above and behind the printer for the slot bank, PTFE paths, and spool routing. The mechanism reduces the available top Z travel, so check your planned model height before a tall print.
2. Choose one tolerance before printing the full set
Start with the 0.20 mm tolerance files unless you already know your printer needs a tighter or looser fit. Print the included test jig first. If the jig or a moving part binds, change the tolerance choice or adjust printer fit before committing to the complete build.
Buyers can open the download page to choose their tolerance pack.
3. Use the matching files for your printer
A1 and A1 mini use the same tolerance downloads for the shared mechanism. An A1 mini build also needs the A1 Mini Top Bar from the shared files section, plus the A1 mini option in the generator. Print the shared spacers alongside the selected tolerance pack.
4. Keep filament routing low-friction and clear
Route PTFE so it does not drag on the mechanism. Keep the power cable clear of the crown-gear area, and place spools so their filament reaches the slots without sharp bends or unnecessary pull.
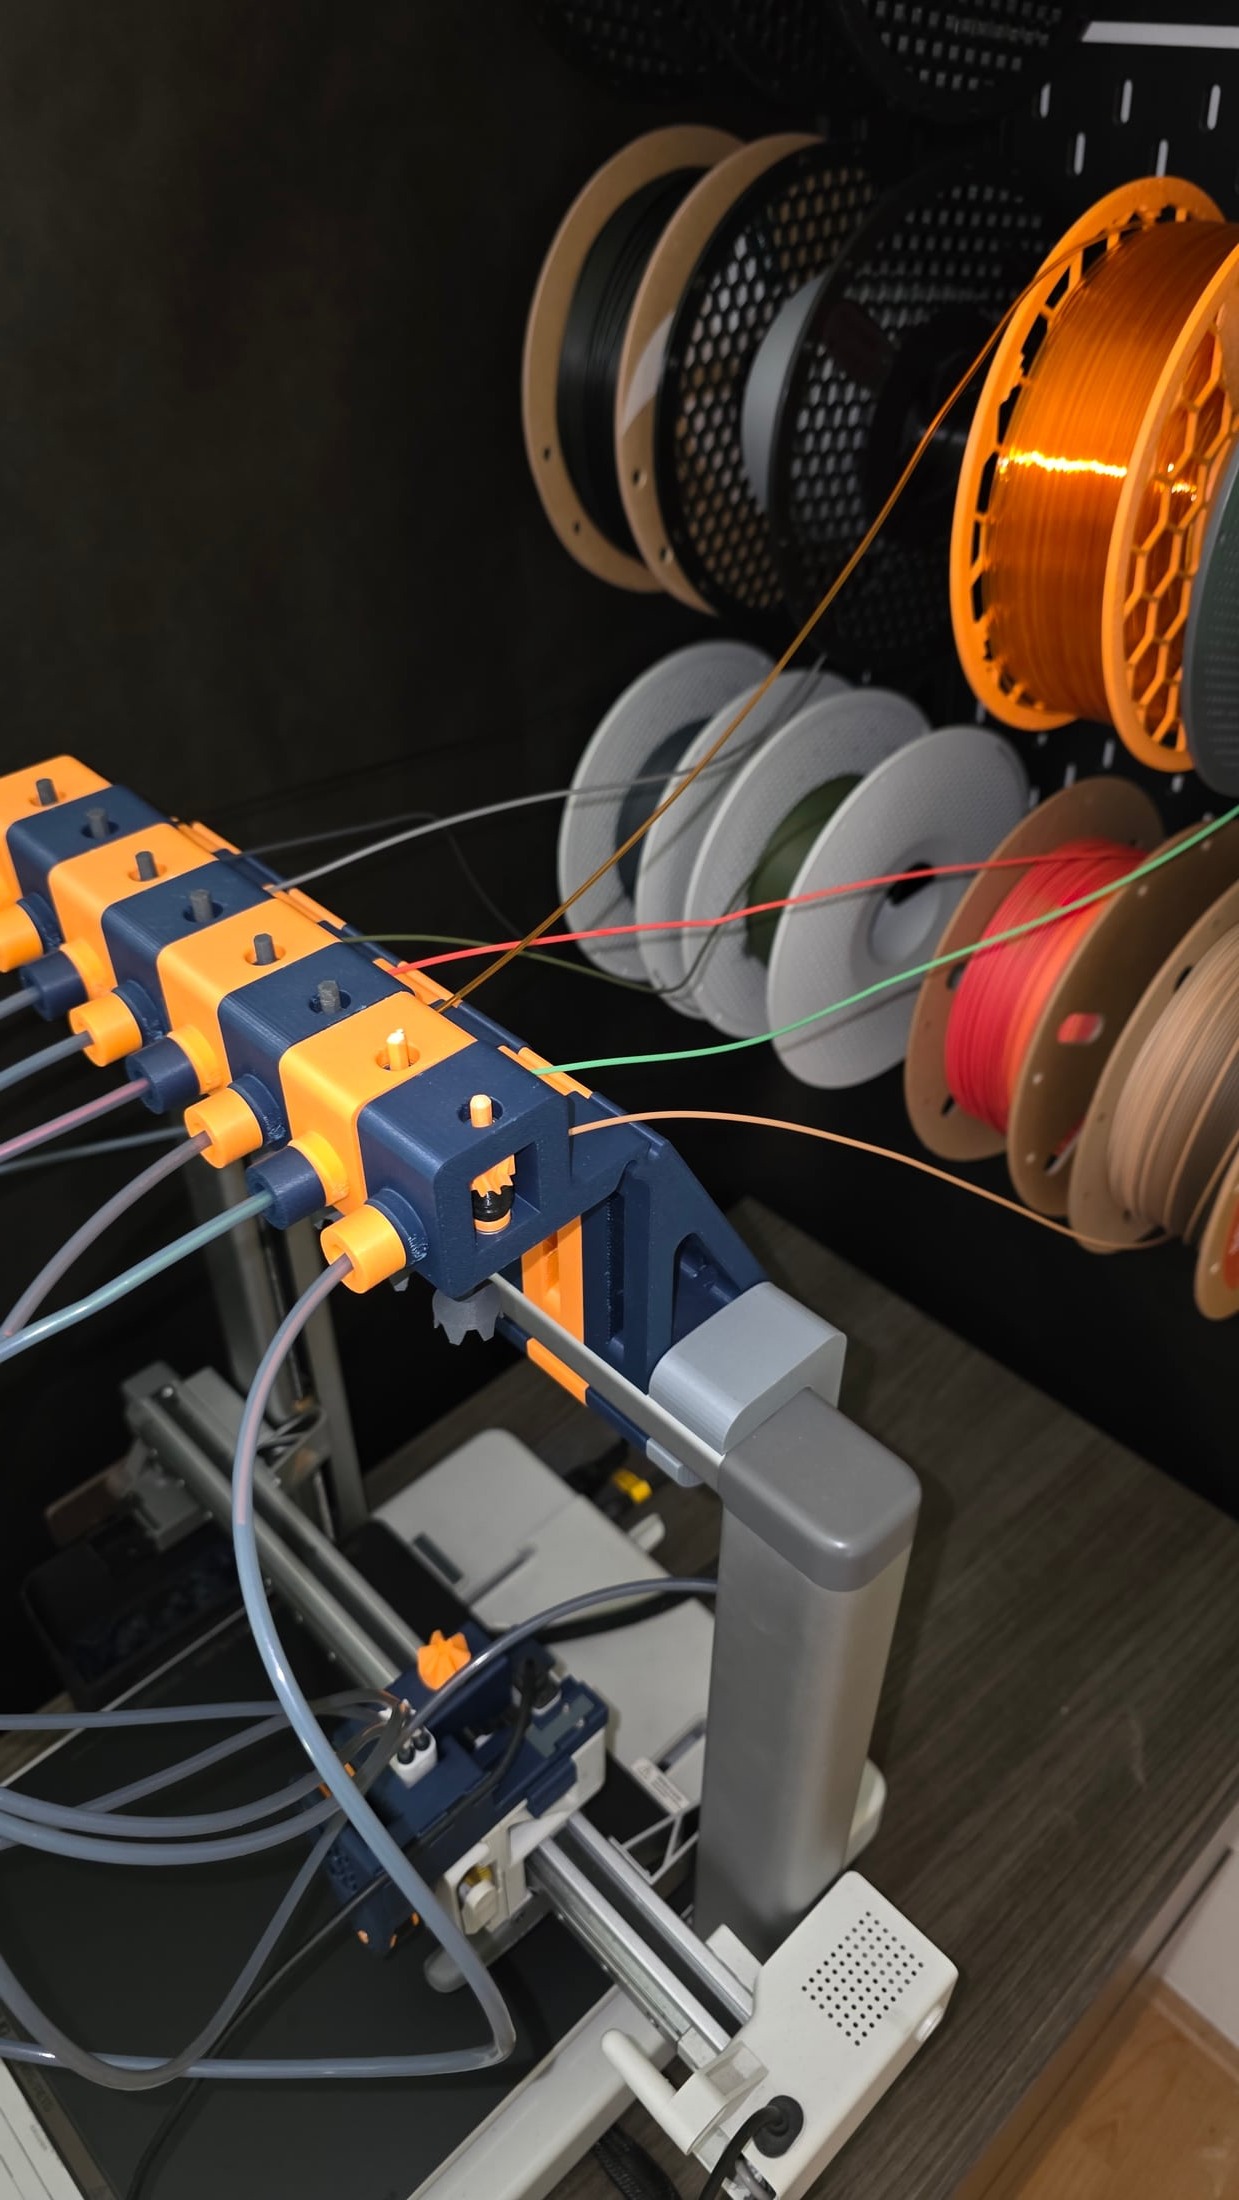
5. Generate setup-specific files only after the physical setup is known
Once the mechanism is installed, record the physical slot map and the loaded state of the toolhead. Then use the G-code generator for the installed printer, selected tolerance, and slot layout. Keep the written slot map next to the printer.
6. Test before a long multicolor job
Start with the test jig and a short, low-risk check. Recheck fit, filament routing, and the slot map before relying on a long print. If something binds, stop rather than forcing the mechanism and reprint only the affected part after changing fit.
Need help with a real build?
Send the printer model, selected tolerance, material, order email, and clear photos or a short video to support@sipersmechatronics.com. That makes it possible to diagnose a fit or routing problem without guessing.